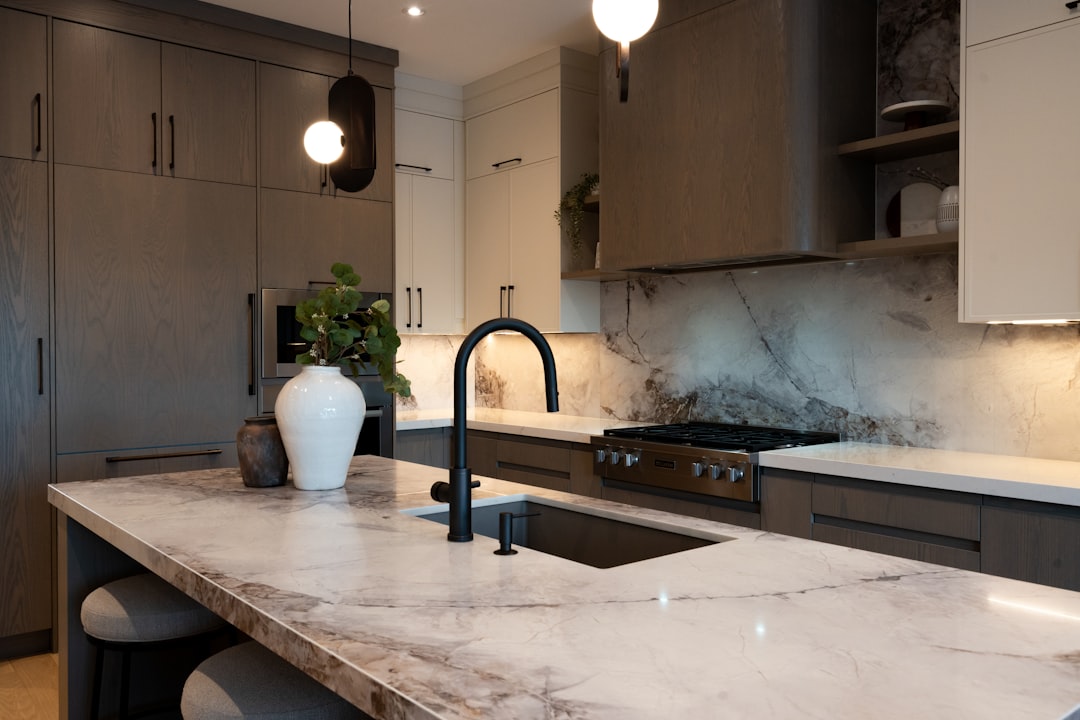

Almost every question a homeowner asks about a new kitchen surface is about the material. Which stone, which finish, which edge, how it holds up to a hot pan. Those questions stay open until the order goes in. There is one decision in the whole project that is permanent the moment a saw runs, that nobody brings up, and that you will look at every day for twenty years. It is where the seam goes.
A countertop is a set of flat pieces, not one continuous ribbon. The moment a run is longer than the material available, or has a corner in it, or has to get through a doorway, it arrives in two pieces and they meet somewhere. That meeting point is a design decision with a right answer and several wrong ones, and it is made by whoever draws the layout.
This matters more in the older tract neighborhoods of this part of Los Angeles County than almost anywhere, because the kitchens are small, the runs are long and narrow, and the houses have settled on their slabs. On a lakewood area countertop installation the seam usually has only three or four possible homes, and the difference between the best of them and the worst is the difference between a line you forget about and a line that collects crumbs, darkens over a year, and eventually opens.
Why a seam exists at all
There are three reasons, and all of them are physical rather than optional.
Slab size. A finished slab is a rectangle. For most natural stone and engineered quartz the common size is somewhere around nine or ten feet long by five feet tall, with jumbo sizes available in some products. A long wall run plus a return plus an island does not come out of one rectangle, and even when the total area fits, the shapes have to nest inside the usable part of the slab, clear of the edges and away from any fissure or resin fill the fabricator does not want sitting in your sink rail.
Corners. Cutting an L-shaped run from one piece means a large L of material with a stress point at the inside angle. Shops do it when the geometry allows, but it wastes slab and creates a part that can crack in transit, so plenty of L runs are two pieces by design rather than by shortage.
The front door and the hallway. The reason homeowners never think of. A piece has to travel from the truck into the kitchen, carried on edge, around whatever turns the house has. These houses were not built for nine foot panels. A narrow entry, a hall at an angle to the front door, a low soffit or a tight kitchen doorway can force a seam the material itself did not require.
So a seam is ordinary fabrication, not a defect to apologize for. The problems come from where it lands.
Where a seam must not go
Over a dishwasher
This is the first rule and the one most often broken. The bay for a dishwasher has no cabinet box under it. The counter spans that opening with nothing beneath it but air and, at best, a cross rail. Put a seam there and you have built a hinge directly over the one unsupported stretch in the room, under the appliance that cycles hot and wet twice a day and vibrates on every drain pump.
If a layout truly cannot avoid it, the answer is a continuous plywood deck or a steel strap bridging the bay underneath and fastened to the cabinets on both sides, so the joint sits on something rather than over nothing.
Across the front of a sink
The strip of material between the front of a sink cutout and the front edge of the counter is the most fragile part of any kitchen top. It is narrow, it is unsupported along its length, and it carries the weight of everybody who leans on the counter to do dishes. Running a seam through it, or through the cutout itself, turns the weakest part of the job into two weak parts joined by adhesive.
Where a sink genuinely has to sit in a seam, standard practice is a joint at the center of the bowl running front to back, with the rail rodded on both sides and a support frame built into the cabinet below. That is a considered answer to a hard problem, not a default. If it appears on your layout without a reason, ask why the seam is not somewhere else.
Where a seam should go
The good positions share something: either real cabinetry carries the joint underneath, or the eye does not linger there, or both.
At an inside corner. The natural home. A corner is already a visual break, there is a cabinet carcase on both sides of it, and the joint reads as part of the geometry rather than as an interruption.
Over a cabinet partition. Directly above the vertical divider between two base cabinets there is solid timber under the joint along its whole length. Structurally this is the best position available in a straight run.
Where something will sit. Behind a faucet, at the end of a backsplash return, or in the strip that will have a coffee maker standing on it for the next decade.
How the two pieces are matched
A seam is a visual joint as well as a structural one, and most of that work happens before install day. For natural stone the idea is the bundle. Slabs are sawn in sequence from one block and stored in order, so consecutive slabs are the closest match that will ever exist of that material. A job needing two slabs should take both from the same bundle, tagged in your name at the yard. Across two bundles the background tone and the veining can differ visibly, and nothing done at the joint will fix that.
For engineered quartz the equivalent is the batch. Plain colors are consistent, but the heavily veined patterns that imitate marble vary from one production run to the next, so two slabs of the same product code can read as two materials if the lot numbers differ.
Then comes layout. On a figured material a careful shop does a dry layout, physically or on screen, deciding how the veining crosses the joint. The goal is continuity: a vein arriving at the seam on one side should carry on from the other at about the same angle and in about the same place. Ask to see the layout, or photographs of the slab with the pieces marked on it.
The joint itself
The physical seam is a short piece of careful work, and there is a right way to do it. The two edges are cut dead straight and square, usually off a saw rather than dressed by hand, so they meet along their whole length with no gap at either end. The target joint width is around a sixteenth of an inch. Tighter and there is nowhere for adhesive to live. Wider and you are looking at a filled line rather than a joint.
The adhesive is a two part polyester or epoxy, tinted on the spot to match the stone, and this is where craft shows. A good installer mixes small amounts of several pigments against the actual material, often blending toward the darker of the two background tones rather than the average, and tests it before committing. A gray seam in a cream stone and a white seam in a dark one are both the result of somebody not bothering.
The two pieces are then drawn together with a seam setter, a pair of vacuum pads that grip each side and pull them in under tension while the adhesive cures. That tension is what closes the joint evenly end to end instead of only in the middle. Before it goes on, the pieces are leveled to each other with shims from below, because the most noticeable seam defect is not a visible line but a lip you can feel with a fingertip. Once cured, the excess is razored off and the joint is dressed and polished flush, so the finish runs across it without a ridge, a valley or a dull patch.
What a good seam looks like a year later
Run a finger across it with your eyes closed. You should not be able to find it by feel. Look along it from a low angle with light raking down the counter: a tight line, consistent in width, the same color as the background of the stone rather than lighter or darker, with the pattern carrying across it in at least one direction. No crumbs living in it, and no dark line of accumulated grime, which is the giveaway that the joint is slightly open or slightly dished.
A bad one fails predictably: a hairline opening at one end, usually the end nearest an unsupported area, and an adhesive line that darkens as water and food work into it.
What opens a seam
Cabinet and floor movement. Most houses in these older tract blocks sit on a slab on grade, and slabs move with soil moisture. The counter will not flex to follow, so the stress goes into the weakest point, which is the joint. That is why leveling and shimming the cabinet runs properly before the template, not during the install, matters more here than in a house on a raised foundation.
An unsupported span. Dishwasher bays, trash pull outs, open knee spaces and the free end of a peninsula. A seam near any of them without a deck or a bracket underneath is living on borrowed time.
An overhang on faith. A seated overhang past the supported limit of the material deflects slightly under load, and a seam inside that zone takes all of the strain.
How to ask, before anything is templated
The template appointment is the last moment all of this is free. Ask for the answers on the drawing rather than in conversation.
How many pieces is this kitchen arriving in, and where exactly does each seam fall, marked in inches from a wall rather than described as being at the corner.
Is any seam over the dishwasher bay, another unsupported opening, or through a sink or cooktop cutout, and if so what is going underneath it.
Are the slabs from one bundle or one batch, tagged in my name, and what happens to the veining where the pieces meet.
Will the cabinets be leveled and shimmed before the template, and is the top being fastened to the cabinets or to the wall.
Every one of those is a note on a shop drawing before fabrication and an impossibility afterwards. A fabricator who does this work weekly will have ready answers and is usually relieved somebody asked, because the alternative is a conversation about a line in the stone six months later, when the only remaining fix is to live with it. A seam is not a flaw. It is the honest consequence of building a kitchen out of a material that comes in rectangles. The only real mistake is letting it land somewhere by default.